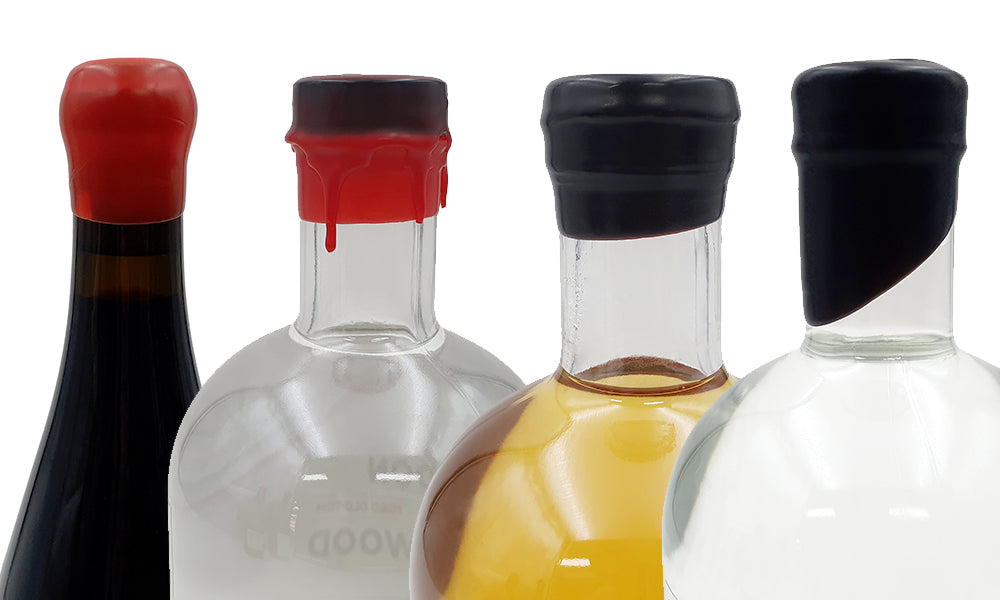
Sealing your homemade wine, beer, vinegar, cider or olive oil provides an airtight seal prefect for long time storage and adds a touch of class to each bottle.
Below are some simple tips for getting the wax finish done right and looking amazing.
1: Do not melt your wax on direct heat. We recommend using an old slow cooker, or make a 'bain marie' with the wax pot sitting in hot water. The wax melting point is 80 degrees celsius so you don't want to go much hotter than that or you may burn the wax and it will become to thin and runny for a good coverage of the bottle. If there is any sign of smoke coming off the wax it is too hot. If only being heated to 80°C, the wax can be reheated 3 or 4 times without any significant effects on the performance of the wax. We recommend minimal stirring while your wax is melting to prevent air bubble forming.
2: Hold the bottle upside down and dunk into the wax. Start with a quick dip and then you can experiment by dipping the bottle again for thicker coverage, or holding it in the wax longer will achieve the same effect. Twist the bottle on the way out of the wax to prevent a drip. If you like the drip look pull the bottle out of the wax and let it run down the neck a little before dipping it into cold water to set the wax.
3: How to achieve different finishes with the wax?3.1: Rounded Top - ensure the bottle is rotated when removing the bottle from the wax until it has solidified. This might be desirable if you are planning to stamp the top of your bottles.
3.2: Flatter top - do not rotate the bottle, but allow excess wax to drip down from one place only, such as a tear strip.
3.3: Drip Effect - use a generous amount of wax and set the bottles to rest standing upright.
3.4: Matt / Vintage finish - Allow the wax to air cool.
3.5: Glossy finish - immediately plunge the wax covered bottle top into cold water and keep it in the water until all of the wax is cool.

